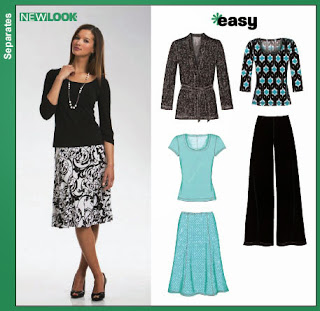
Vogue 8390
 The weather is finally(!) starting to break and so I've started on my sunwear sewing, beginning with Vogue 8390. I went with the halter version to wear with this green and fuchsia below-knee skirt that I bought in England a few years ago. As there are already lots of reviews about this pattern on Pattern Review I will limit my comments to the changes I made.
Like many others I decided to leave out the full facings on the front - especially as I was using a ponte knit, I thought four thicknesses of fabric for a summer top would be like wearing a coat.
I noticed that many used a stretch band to finish the neckline. Instead I folded over the seam allowanced and topstitched with a double needle. I recommend using a walking foot for this part so as not to stretch out the fabric while sewing. The IDT system on my Pfaff worked this beautifully. I used the same method to turn the hems; fold under the seam allowances and topstitch with a double needle. The secret to avoid tunneling with a double needle is to drop your tension a number or two. Frankly I'm a little jealous that this top looks better on Gertrude than on me.
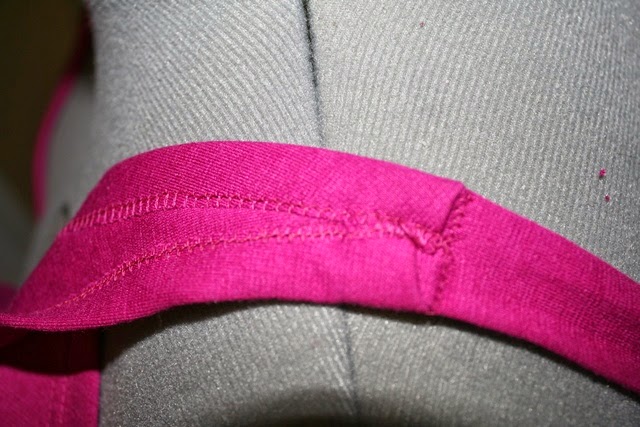
This pic shows the detail of the underside of where the strap attaches to the bodice with only one layer of fabric and the seam allowances sewn under. I'm pleased that it still looks neat and tidy.
The other change I made was to eliminate some of the "fluffy" or "frilly" bit from the bottom hem. I noticed on virtually every pic of this top and on my version as well the bottom hemline seems too wide and tends to frill out. I wanted it to lay smoothly as it does in the pattern drawings. I resolved this by taking in the bottom 3 or 4 inches of the sideseams AFTER assembly (this pattern is way to convoluted for me to figure out any adjustments before assembly), from the gathers to the hemline. I tapered it from zero to about an inch and a half from the original seam line. Basically it just eliminates the last bit of taper on the side seam to make it come down straight. I am happy with the results of this as it makes the front lay much smoother.
This side view shows the gathers at the side. There are two sets - one for the bust and one for the crossband. And as a reward for reading along this far, I'll let you in on a little (not so little) secret. If you look very carefully you will see the giant enormous OMG mistake that I made. Can you find it?
I sewed the back in backwards! DOH! That zigzag seam you can see is the backside of the double row of stitching that you are supposed to see as well as the raw edge of the fabric. Clearly I continued sewing after I should have packed it in for the night. I didn't even notice it until the top was finished! I contemplated taking it all apart and doing it over but thought A) that in real life it is barely visible and B) that this top probably won't get a whole lot of wear anyway. What do you think - would you take the time to take it all apart?


Comments